Definition: What does visual inspection mean?
A visual inspection is the optical or visual check of a product or component for faults or defects. It is carried out by qualified and ideally certified personnel who have the appropriate proven visual skills (near vision, color vision, etc.).
As a non-destructive testing method, visual inspection is standardized in DIN EN 13018 (General principles of visual inspection). There is also an official abbreviation: it is VT (visual testing) and comes from ISO 9712.
In practice, you may also come across the alternative terms visual testing, visual test or VT or VT2 testing.
What types of visual inspection are there?
A basic distinction is made between direct and indirect visual inspection.
Direct visual inspection is an inspection in which the beam path between the inspection surface and the eye of the inspector is not interrupted. In addition, direct visual inspection is subdivided into
- testing without aids (also known as “unarmed eye”), where the naked eye is used exclusively for testing
- inspection with aids, in which, for example, a magnifying glass, mirror, microscope or flashlight is used.
In contrast to direct visual inspection, in indirect visual inspection the beam path is interrupted between the test surface and the inspector's eye. This is the case, for example, when testing with the aid of a camera.
What are the advantages of visual inspection?
A major advantage of visual inspection is that the implementation hurdles are comparatively low. A simple visual inspection with the naked eye already enables a high error detection rate.
Another advantage is that you need very little in the way of tools. In principle, the inspector's eye is sufficient for many scenarios. This low hurdle makes visual inspection ideal for spot checks.
Visual inspections are also part of numerous standards. If you use them, this automatically results in at least partial conformity with standards.
Another major advantage is that you proceed non-destructively. You do not have to interfere with the product. You check what you can see.
If you use advanced technologies such as cameras and digital analysis tools, you also have the option of automatically documenting defects, creating precise defect assessments and using recorded data for subsequent analysis and optimization.
What are the disadvantages of visual inspection?
Where there is light, there is also shadow and this can actually distort the result of a visual inspection. In general, it has the major disadvantage that it is dependent on many “ambient conditions”. Not every tester delivers the same results; changing light conditions, fluctuations in concentration and fatigue can affect the results. In the worst case, this can lead to errors.
If you opt for a technically supported visual inspection, you will initially have to reckon with higher costs for cameras and analysis software.
What typical defects can be detected?
A visual inspection can reveal any defects that can be seen with the naked eye.These can include
- scratches
- cracks
- dirt
- assembly errors
- burr formation
- color changes
- roughness
However, you cannot see inside the components; in a sense, you remain on the surface.
What special forms are there?
In addition to inspection with the naked eye, other methods have been established with which advanced visual inspections can be carried out.
These include
Automatic optical inspection (AOI)
Camera systems are used to detect faults or defects quickly and reliably.
Triangulation
This is a method for determining the exact 3D position or geometry of an object by measuring the angles of light rays.
Photogrammetry
In this method, measurement data is recorded and evaluated by analyzing photos or image sequences in order to create 3D models.
Phase delay measurement
This measurement method uses the time delay of light phases to analyze distances or surface structures.
Interferometry
This is a high-precision technique that uses the superposition of light waves to measure surface changes or deformations.
What is the goal of a visual inspection?
The aim of a visual inspection is to detect safety-relevant damage at an early stage. This is intended to reduce the scope of downstream inspections - e.g. using measurement technology.
The key to a successful visual inspection
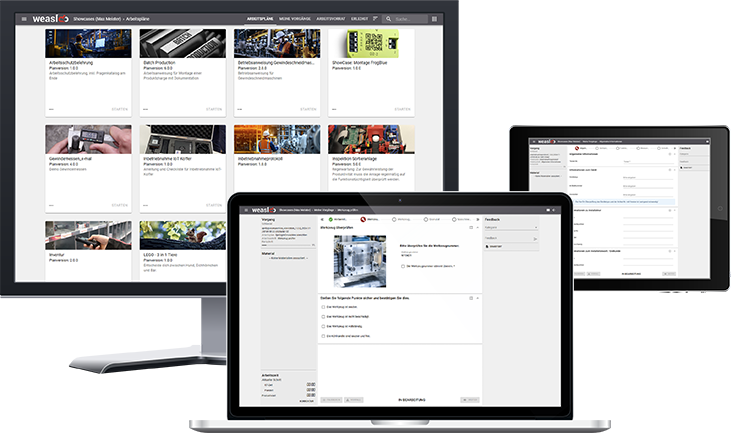
For a visual inspection, the inspector must know what is to be inspected, what constitutes good and bad parts and which criteria are decisive. Provide them with a tool that reliably delivers precisely this information - and documents the results at the same time. A tool like weasl.
Find out exactly how weasl supports your employees in our free showcase environment.

